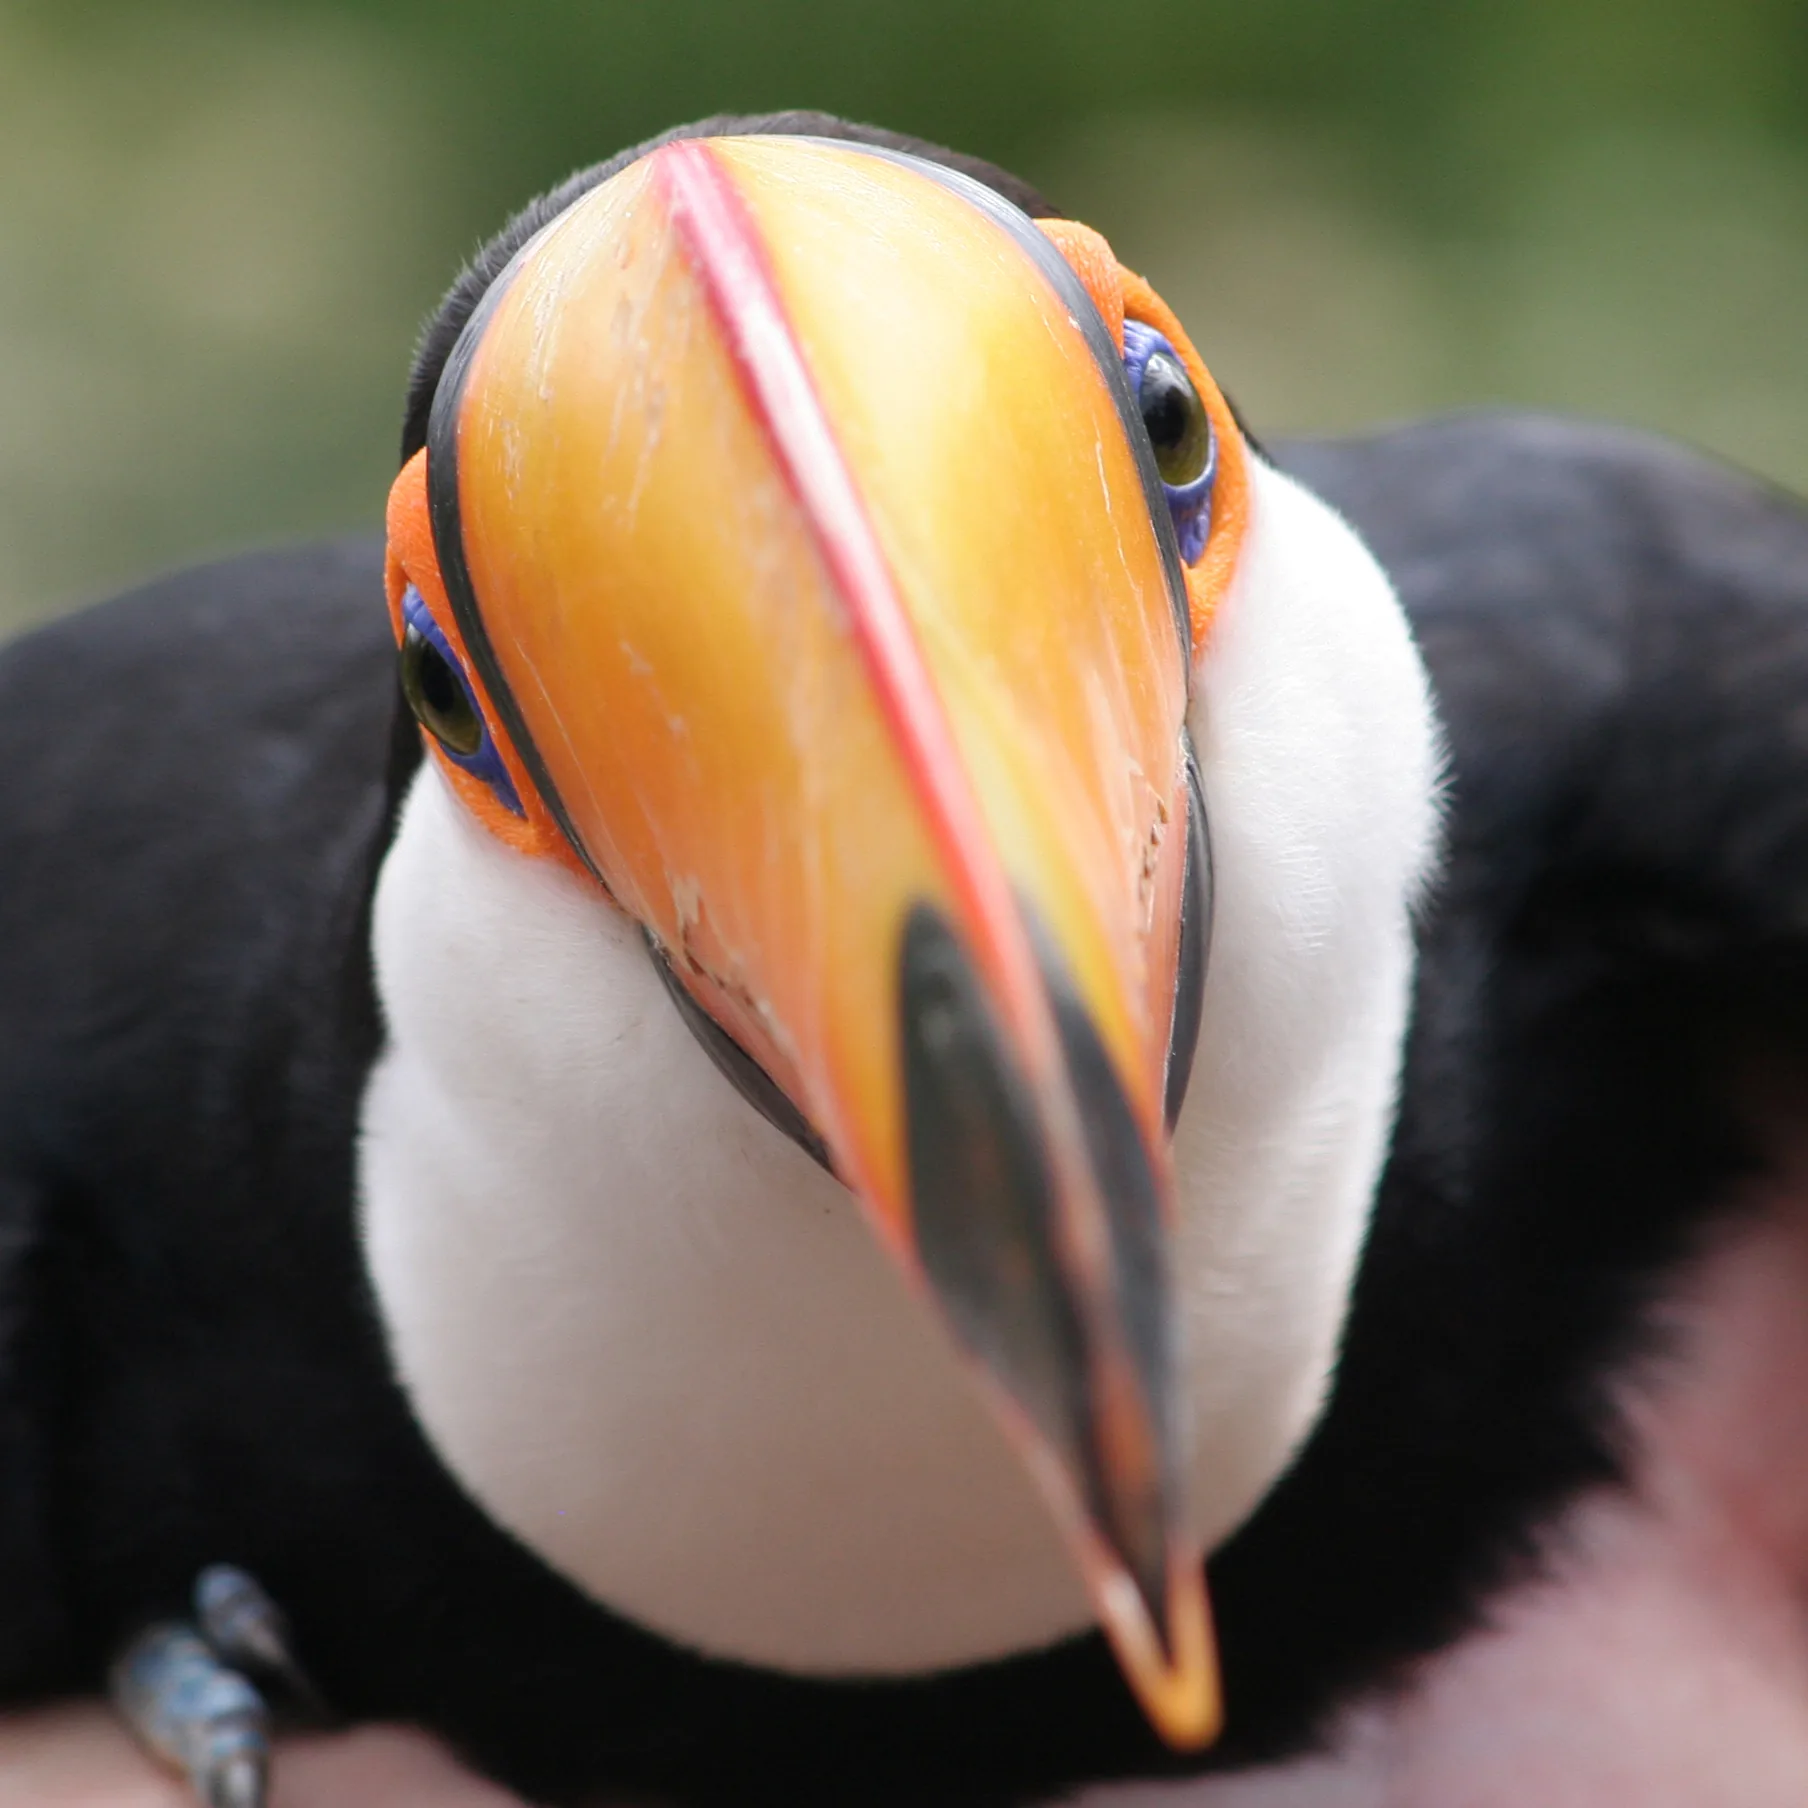
A Planet Zoo 2 flying birds habitat needs a roof, species-appropriate flying space, and the same essential care you would provide to other animals. Use the habitat tools to create a contained barrier loop with a staff gate, select the habitat, and use Add Roof. Then check the species requirements in the Zoopedia and the habitat's Flyable Area in its Info Panel. As of 12 October 2026, the game is unreleased; the construction systems are confirmed, but individual launch-build requirements and measured performance need to be checked in the game.
An aviary is more than a tall fence with birds inside. The roof defines the enclosed air space, perches and resources need usable access, and the birds' welfare tells you whether the environment works. If you want breeding, appropriate nesting sites are also necessary. Plan these functional elements before deciding how elaborate the finished structure should look.
Start with the birds you intend to house
Choose the intended inhabitants before finalizing the enclosure. Different bird species have different flying-space requirements, nesting preferences, and social behavior. A design that suits one group should not be copied to another merely because both groups can fly.
Read the species entry in the Zoopedia for its habitat requirements and compatible company. Some birds can share space with other bird species or terrestrial animals, but compatibility is selective. A mixed habitat should start from confirmed compatibility rather than a broad assumption that birds coexist safely with everything.
For a first aviary, a focused plan is easier to review. Write down the species, the intended social group, whether breeding is part of the plan, and whether visitors should enter the habitat. Those decisions affect how you organize air space, nests, perches, resources, and viewing.
Keep the decorative theme separate from the requirements. A tropical-looking structure is a visual choice; it does not establish that a particular bird's terrain, plant, social, or flight needs are satisfied. Use the animal information to decide what the habitat must provide, then build the theme around it.
Form the enclosure before shaping the roof
The aviary uses the same habitat construction tools as terrestrial animal habitats. A contained loop of barriers and a staff gate provides the underlying enclosure. The key difference for flying birds is the roof that keeps birds and guests safe.
Create a simple enclosure first so that you can understand the relationship between its borders, roof, and usable space. This is a suggested learning order rather than a claim that a specific barrier material or shape is mandatory for every bird.
Staff access deserves an early place in the design. Food, water, and care remain necessary even when the most interesting action happens overhead. A scenic facade should not be the only thing you consider when deciding where the gate and support area belong.
A roof is a functional habitat feature in Planet Zoo 2. Placing scenery that resembles a roof is not the same thing as using the enclosure's roof system. Use the habitat construction feature, then inspect what the game reports about the completed space.
Generate a roof and customize its shape
Select the habitat and choose Add Roof. The roof generates from nearby barrier posts and initially forms a flat cover spanning the habitat. This gives you an accessible starting point without individually assembling a roof from scenery pieces.
Pillars can be placed inside the habitat to change the roof shape. The roof adjusts to their positions, while pillar height and rotation can be edited. Roof material and convexity can also be customized. These tools support varied structures, including tent-like and domed designs.
Begin with a shape whose air space you can easily inspect. Once the birds' requirements are understood, you can adjust the pillars or roof profile and review the result. This prevents an attractive outline from becoming the only measure of whether the habitat is usable.
Do not interpret visual height as a confirmed species threshold. The useful output is the habitat's Flyable Area and the animal's response, not an estimate based on how imposing the roof looks from the path. A tall central pillar is a design element; the surrounding shape still needs to serve the inhabitants.
Roof customization also affects the relationship between the habitat and viewing areas. Think about where guests can see birds perched or moving overhead. Leave those sightlines flexible while you establish the basic enclosure instead of finishing every decorative wall immediately.
Check flying space as a separate requirement
Every flying species has a requirement for appropriate flying space. The Zoopedia provides each animal's requirements, and the aviary Info Panel displays Flyable Area. These are the relevant checks when deciding whether the enclosure has enough room for its birds.
After birds arrive, their welfare information can show whether additional flying space is needed. Increasing the roof height or expanding the habitat are confirmed ways to add space. The right change depends on what the current enclosure reports and which animals need more room.
Treat these readings as separate from the habitat's footprint. A plan can look spacious from above yet still provide inadequate air space. Conversely, changing the roof shape can matter without changing the ground outline. Avoid substituting a guessed length-times-width-times-height calculation for the game's reported value.
When experimenting, change one major spatial feature at a time and inspect the result. Raising part of a roof, moving a pillar, or expanding a side are different interventions. If you do all of them together, you may obtain a larger aviary without learning which change solved the problem.
There is no single verified size that suits every bird. Do not use a predecessor exhibit size or a real-world enclosure recommendation as a Planet Zoo 2 minimum. Species-specific requirements and the game’s actual habitat information are the appropriate basis for the decision.
Build usable perch and resource areas
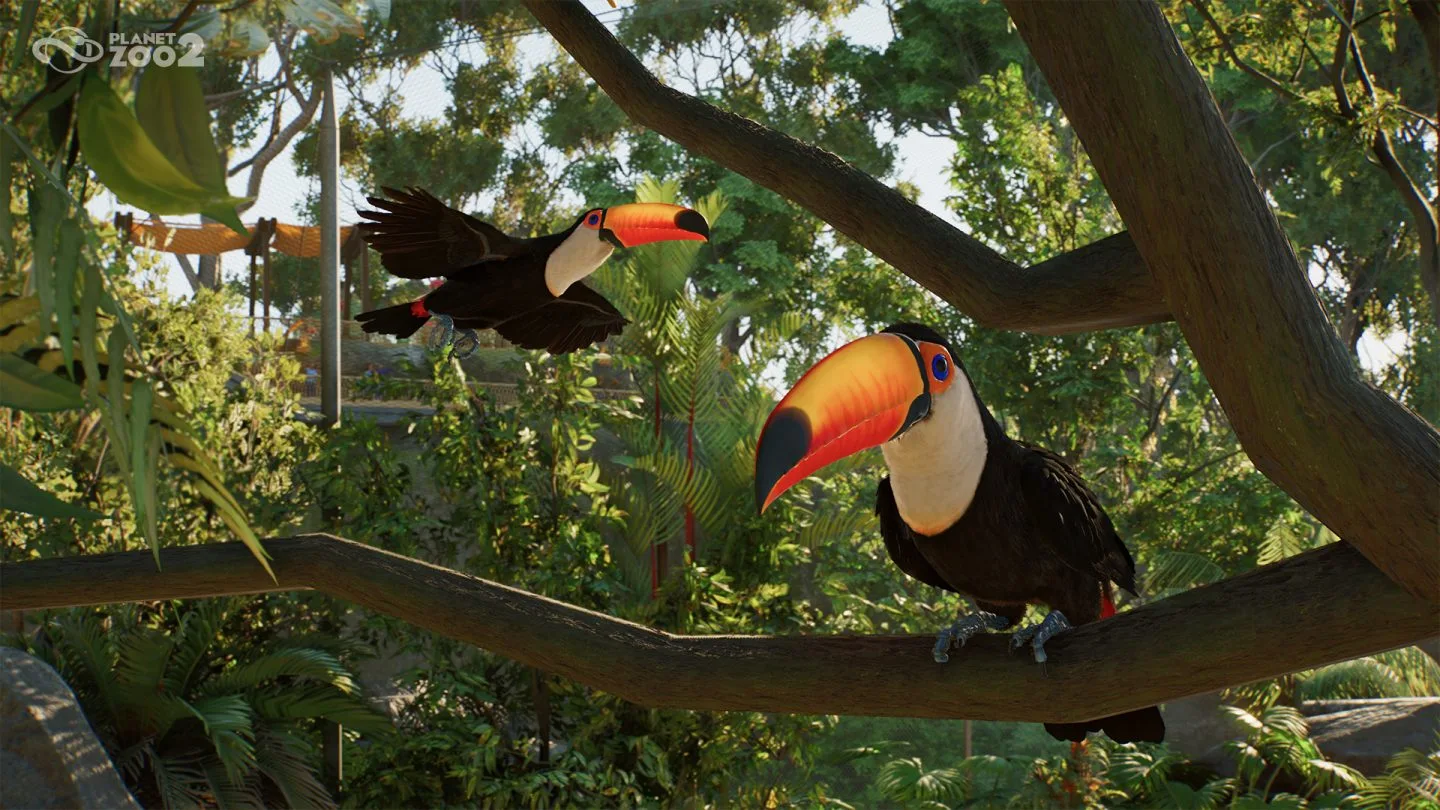
Flying birds still need food, water, enrichment, and a suitable environment. They also benefit from appropriate things to perch on. Some arboreal species prefer perching, while other birds spend more time walking on land or in shallow water. These behavioral differences are relevant to where you place resources.
Think of the aviary as a connected environment with places to rest, feed, interact, and move between. This is a planning model, not a claim that every bird must use a specified number of perches. A visually impressive tree does not automatically make every desirable perch accessible.
The birds' navigation must account for a clear route to a perch. When reviewing a detailed habitat, consider the space around the landing area as well as the object itself. Keep your first arrangement readable so that resource and perch placement can be adjusted before the area becomes densely dressed.
Flight behavior varies by species. An arboreal bird may judge flying to a feeder as more efficient than walking, whereas a wader may prefer moving on land or through water. Avoid forcing the same arrangement on both merely because they live under one roof.
Use observation alongside the relevant information panels. A bird staying on the ground is not, by itself, proof of a flight bug; species preferences and its current behavior matter. Inspect its needs and the space available before treating a particular animation as a failure.
Provide nesting sites when breeding is intended
Flying birds need appropriate nesting sites to breed, lay eggs, and raise their young. Nest choices reflect different species preferences, with cavity and cup nests for some arboreal birds and water platforms or mud nests for more ground-associated birds.
Animals with a nesting requirement need a suitable site for each breeding pair and must claim it before they can conceive. A nest therefore belongs in the functional plan for a breeding habitat rather than being added solely as decoration after the birds arrive.
Cavity nests have a dedicated camera for checking eggs and fledglings. That gives you a way to observe a stage that may be hidden inside the nest. It does not remove the need to provide suitable nesting conditions for the species using it.
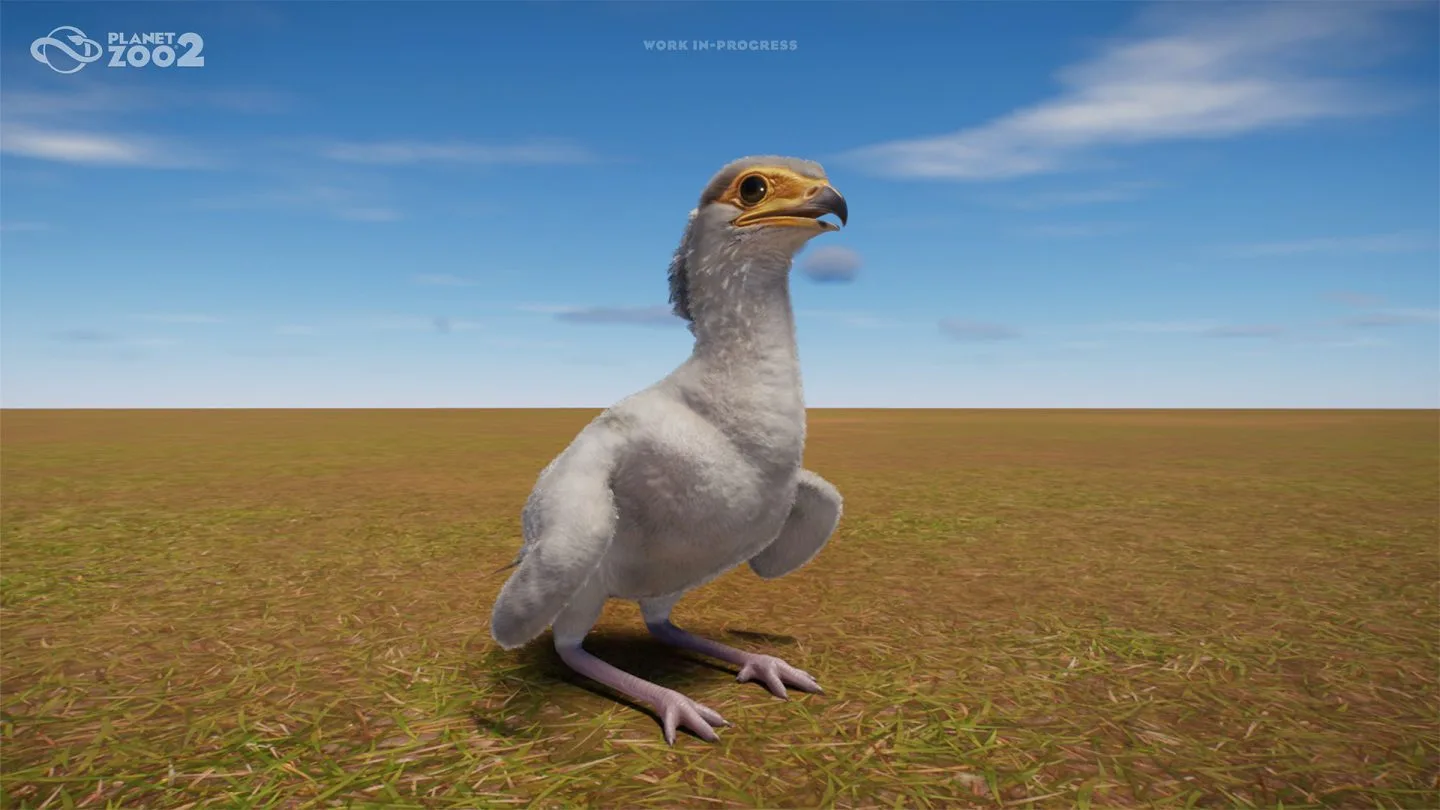
Flying birds hatch as nestbound young and remain under parental care until fledging. After obtaining their adult-looking plumage, they are still juveniles until sexual maturity and do not yet count against adult population limits. Plan for a changing family group without guessing an incubation time or maturity age.
If reproduction is not occurring, a useful first check is whether the species requires a nest and whether the intended pair has an appropriate claimed site. Do not immediately expand the whole aviary or add unrelated enrichment when a confirmed nesting prerequisite has not been met.
Choose guest access to match the inhabitants
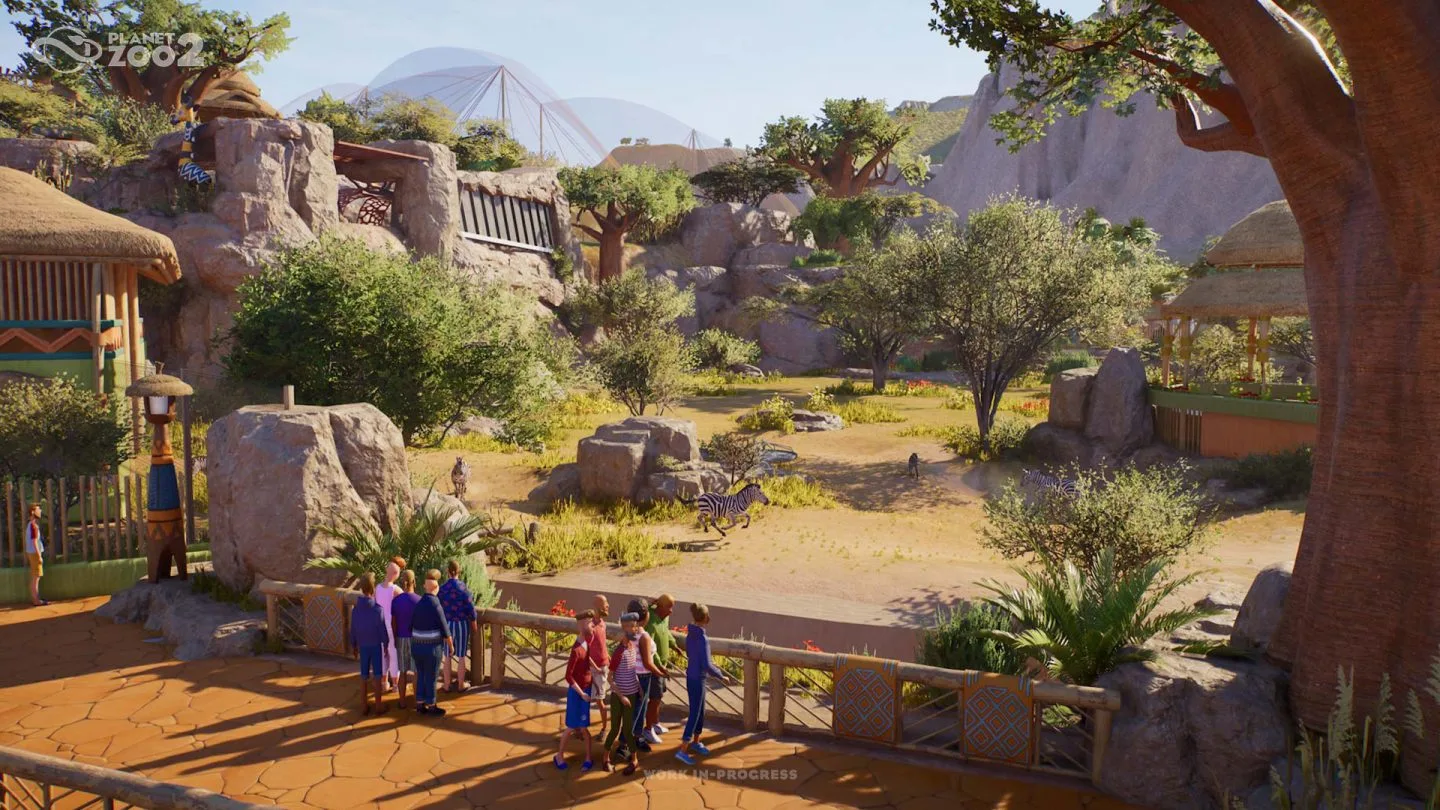
Some birds are suitable for walkthrough aviaries, while others are shy and need plenty of space. Check the Zoopedia before planning visitors inside the enclosure. Being a bird is not sufficient evidence that a species can tolerate a walkthrough route.
For suitable inhabitants, a guest gate and a path through the aviary enable visitors to walk inside. Keep this as a species-dependent choice. An external viewing route is a reasonable design option when you have not established that every inhabitant belongs in a walkthrough habitat.
Guests may need to look up to see perched or flying birds. Elevated walkways can be used inside and outside aviaries to provide appropriate views. Plan where these viewpoints relate to the actual flight and perch areas, rather than creating elevation solely for a dramatic screenshot.
Animal welfare and visitor viewing still need a balance. Animals sometimes need to retreat from view to avoid stress. A route that places guests close to every part of the aviary is not automatically the best experience for its inhabitants.
A useful design review follows the planned guest route and asks what can be seen at each point. Identify a perch area, open flight space, or other meaningful focus. If the viewing route is unclear, adjust the habitat composition before committing to dense scenery around it.
Review the habitat after each major change
Use a consistent inspection sequence: enclosure and roof, Flyable Area, food and water access, social conditions, enrichment, nesting if relevant, and the animal's welfare. This is a proposed checklist built around confirmed systems, not a reproduction of an unverified launch interface.
After expanding or restyling the aviary, revisit the same checks. Changing a pillar or filling an open area with scenery can alter the environment you originally inspected. The roof's appearance is not sufficient evidence that the birds still have the space and resources intended for them.
For a mixed habitat, review each species rather than relying on one animal that appears content. Compatibility does not mean identical requirements. A shared structure still has to meet the needs of all its inhabitants.
Keep the earliest build simple enough to diagnose. Once the basic aviary works, add the decorative details that support its chosen theme and viewing plan. The result should provide safe enclosed air space, suitable care, appropriate nesting when needed, and a clear visitor experience without relying on a universal recipe that the species requirements do not support.